This method eliminates the need for third-party apps and streamlines your scanning process, making it smoother and more efficient.
Table of contents
Open Table of contents
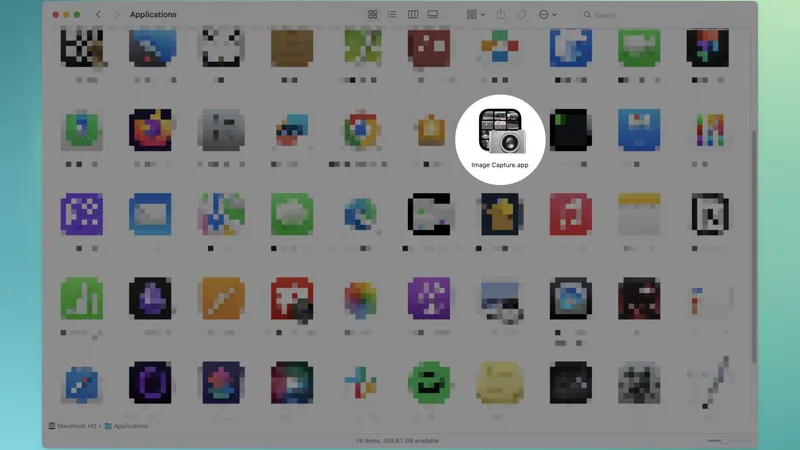
Step 1: Open Image Capture app
Open Launchpad or navigate to your Applications folder and locate the Image Capture app.
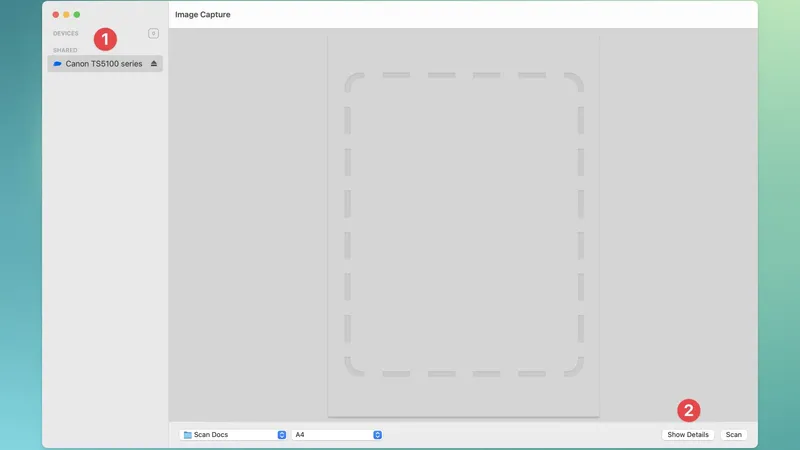
Step 2: Select scanner
- Select your scanner.
- Click the Show Details button. This provides an overview of what your scan will look like, allowing you to preview before scanning the actual document.
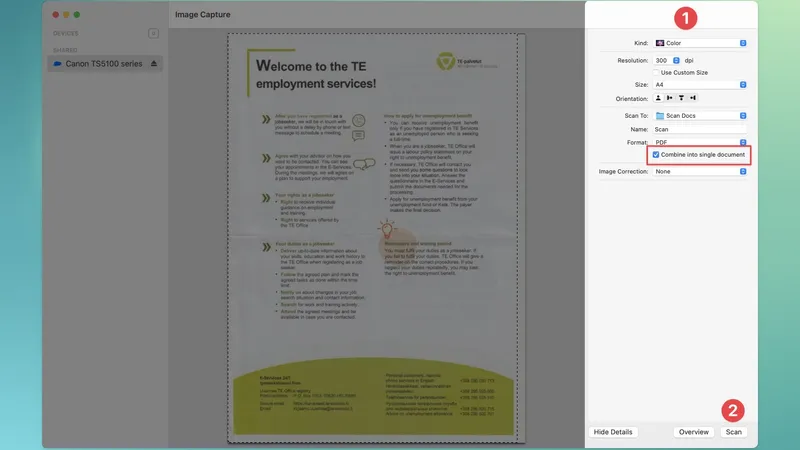
Step 3: Adjust scanning settings
- The right-hand panel allows you to adjust your scan settings
- When you’re done adjusting your settings, click the Scan button
- Kind: Choose between color or black and white.
- Resolution: Determines scan quality—higher values means better quality but also increase file size.
- Size: Leave as auto or select a standard paper size, e.g., A4.
- Orientation: Automatically detects document orientation, but manual adjustments are possible.
- Scan To: Choose where your scan will be saved.
- Name: Specify the filename of your scanned document.
- Format: Choose the desired image format, such as .jpeg, .png, or .pdf for documents.
Combine into single document: Make sure to check it—it’s the key step to get all your scans into one file.
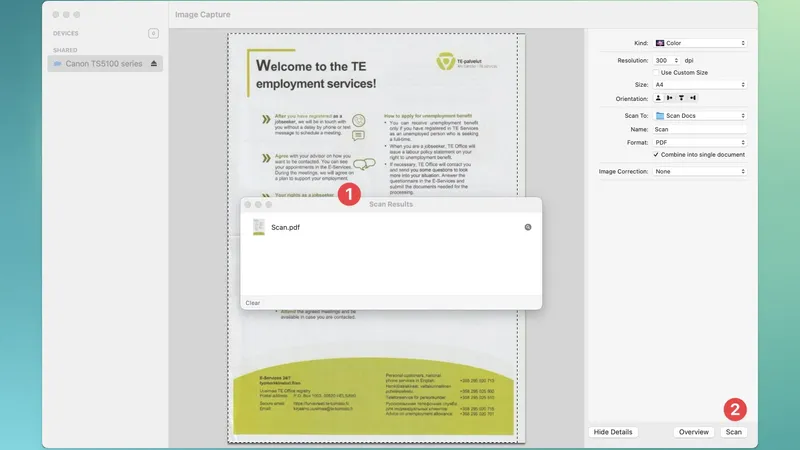
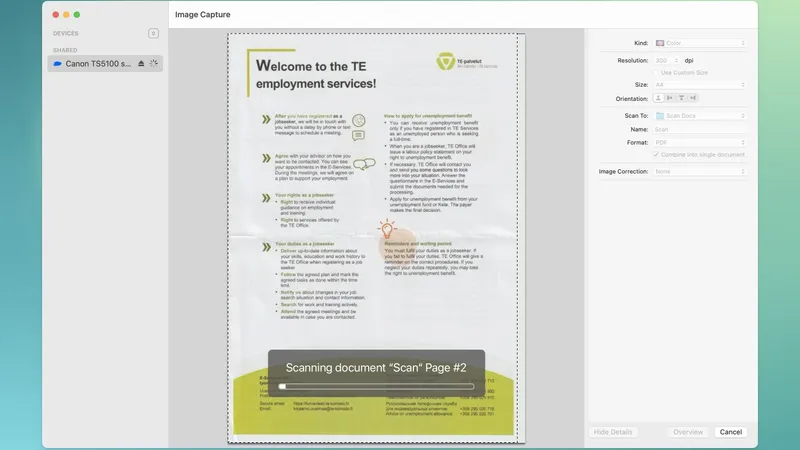
Step 4: Pop-up window
- A pop-up window will appear, displaying your scanned document; leave it open as you place your next document in the scanner.
- Click the Scan button again to scan your next document. Repeat this process for multiple pages.
Step 5: Save your document
All done! Navigate to your save location and open the PDF.
You’ll find all your documents combined into a single file.